
A tile ready shower pan is a key part of modern bathroom builds. It gives you a waterproof, pre-sloped base for tile work. This base saves time and helps avoid leaks.
It comes ready to install and supports direct tile application without extra layers. Let’s break it down in simple terms.
What Is a Tile Ready Shower Pan?
A tile ready shower pan is a one-piece shower base that supports tile. It comes with a pre-made slope and a surface that bonds with mortar.
You do not need to build the slope yourself or add extra waterproofing. These pans save time and prevent leaks.
You can install them faster than traditional methods. Most are made from fiberglass, composite, or similar strong materials. They are safe, solid, and ready to tile right out of the box.
Key Features of a Tile Ready Shower Pan
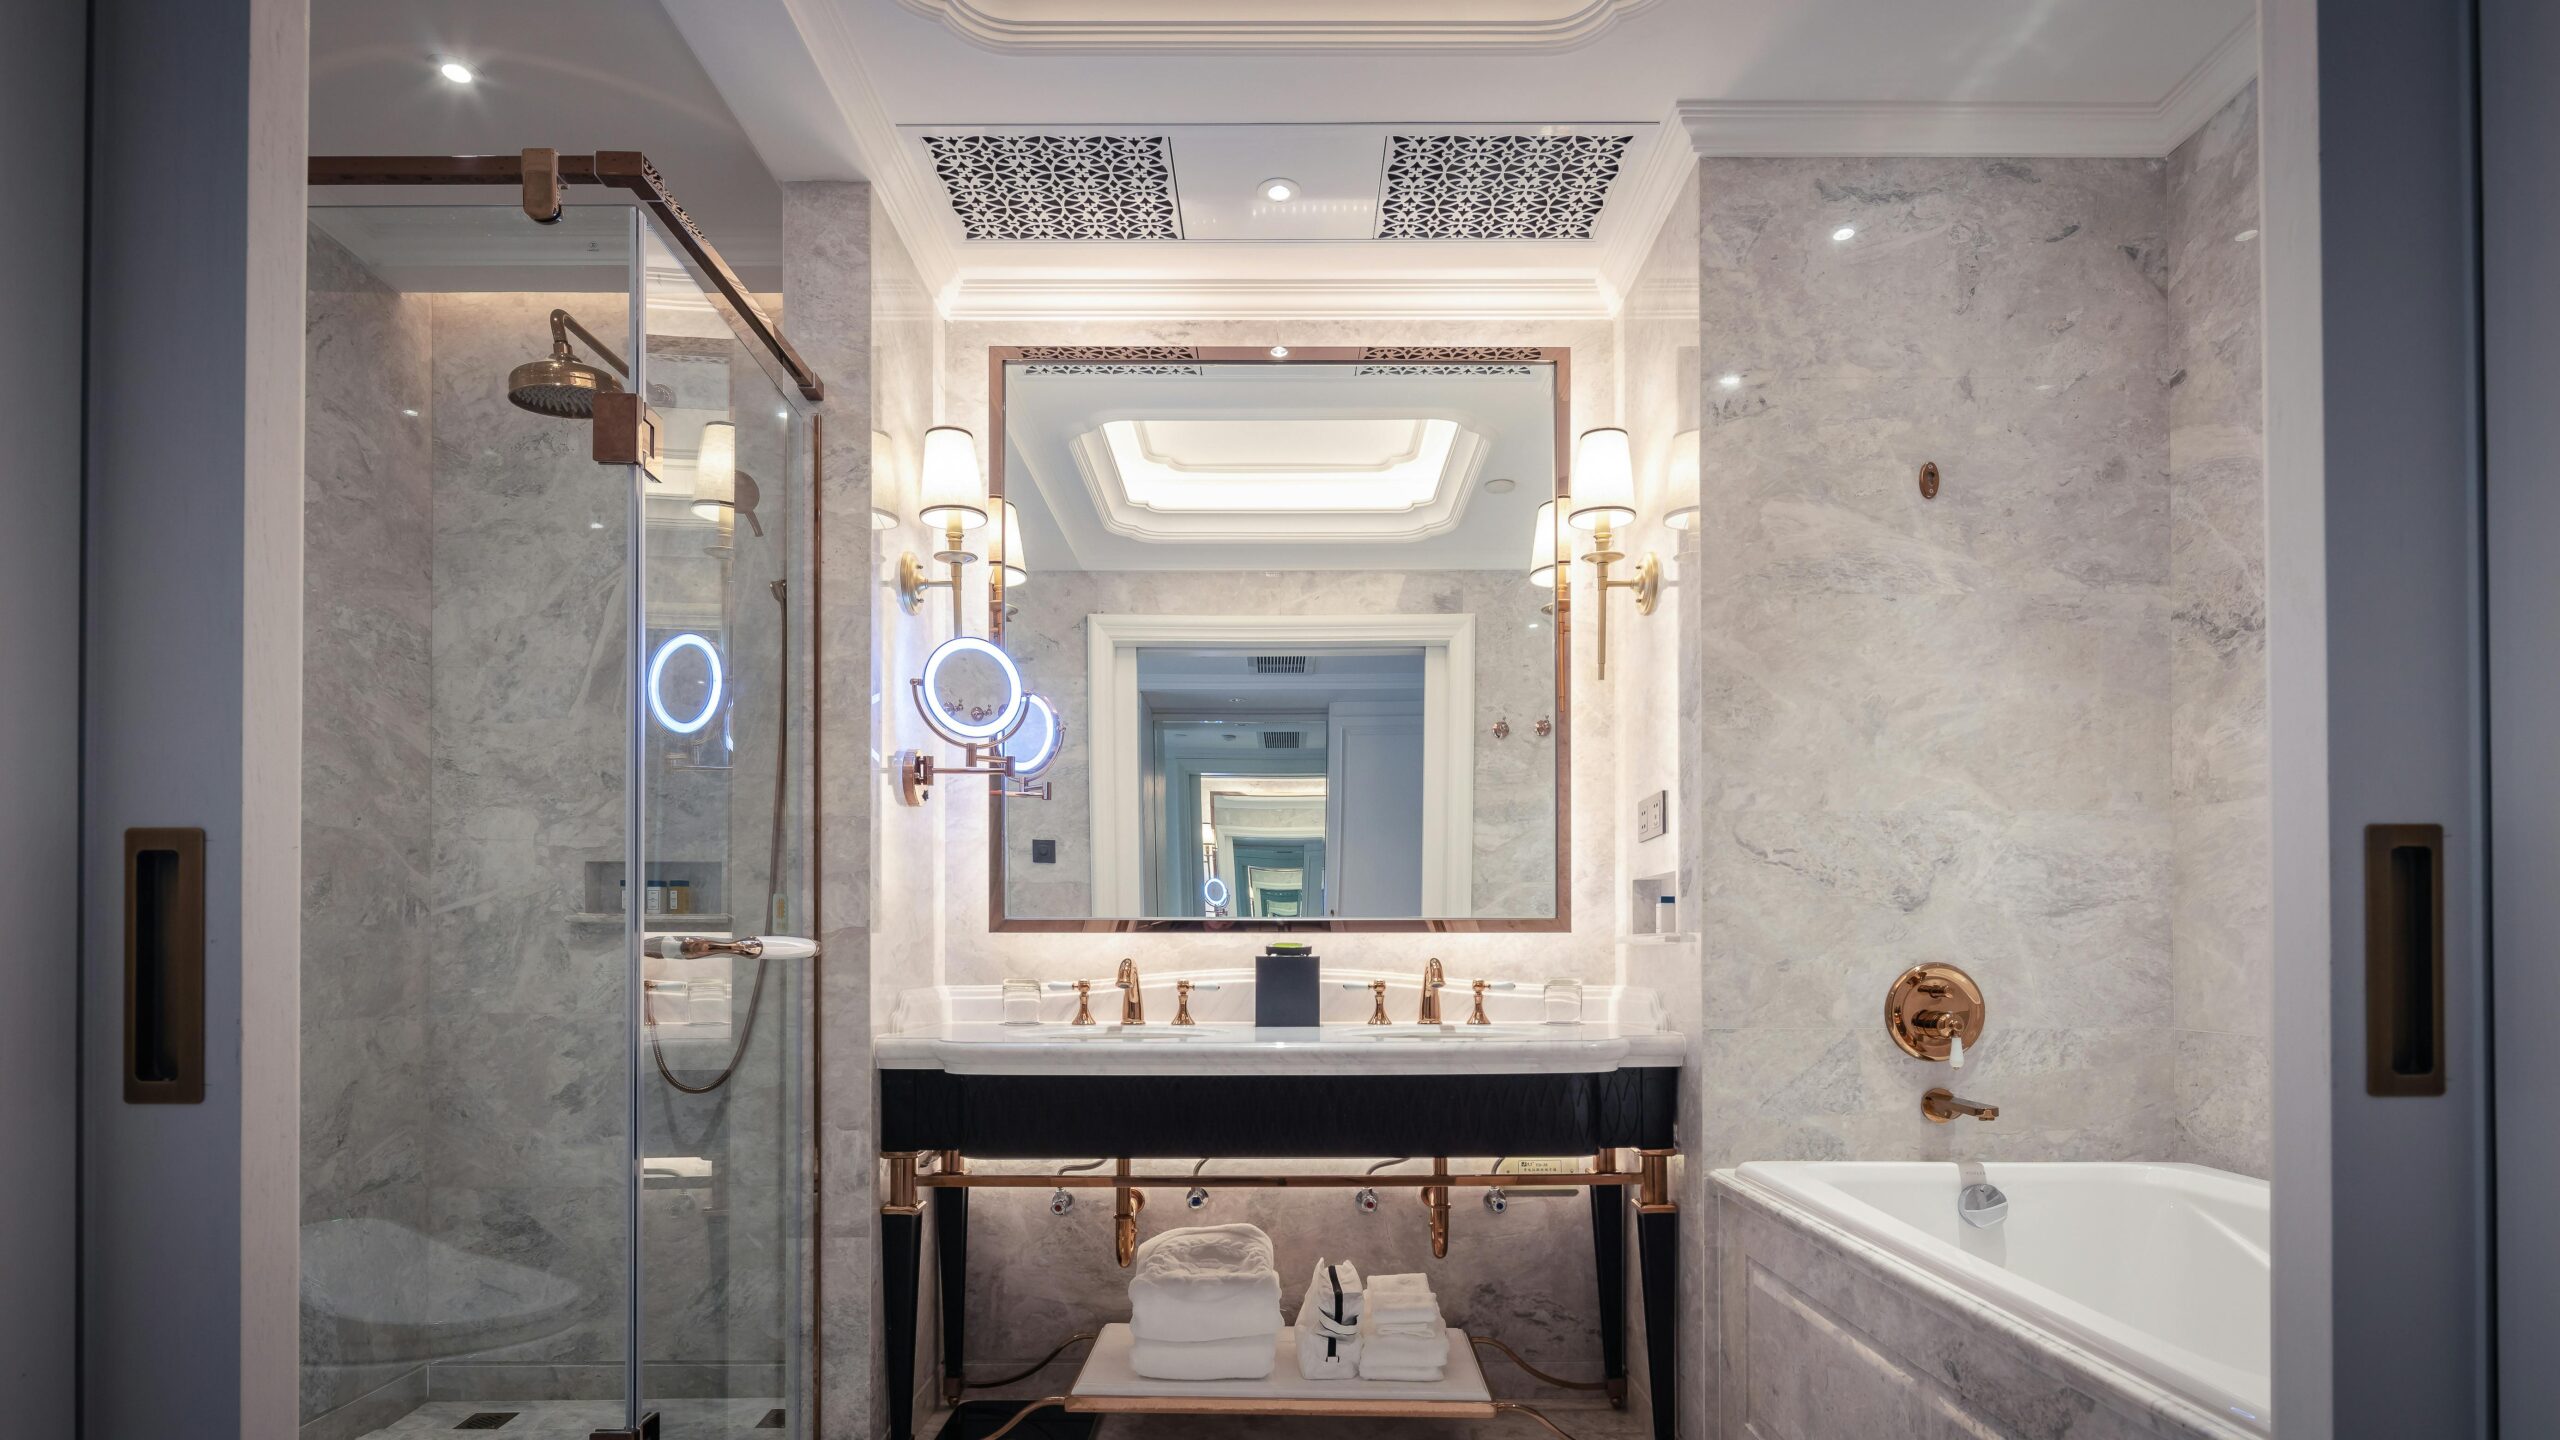
A tile ready shower pan has a fully waterproof surface. It blocks all moisture and protects your subfloor from damage. This stops mold and mildew before they form.
Each pan has a pre-sloped design. That slope directs water straight to the drain. You don’t need to adjust or measure it yourself.
The surface of the pan bonds well with thin-set mortar. This makes it easy to lay tile directly on top. You do not need an extra layer or special prep.
Drain connection is simple. Most pans support standard sizes and shapes. That makes them easy to fit into your plumbing system.
These pans also support heavy loads. They hold up well even in high-traffic bathrooms. They don’t crack or shift over time.
Why Choose a Tile Ready Shower Pan?
A tile ready shower pan cuts install time in half. You place it, secure it, and tile over it. That saves hours of labor.
The design also prevents costly mistakes. The factory slope removes all guesswork. You don’t need to shape it yourself.
Leak prevention is another major plus. One-piece construction means fewer joints and less risk. You get a watertight base that lasts.
Your shower will also look better. You can tile up to the edge of the drain. That creates a smooth, clean finish.
Most tile ready pans meet building codes. That means you stay within legal rules and pass inspections easily.
Installation Process: What to Expect
Start by checking your subfloor. Make sure it is flat, level, and dry. Remove dirt, glue, and old flooring before you begin.
Next, dry-fit the shower pan. Place it in your space and see if the drain lines up. Adjust it if needed.
Once you’re sure of the fit, apply thin-set mortar or the adhesive the manufacturer recommends. Spread it evenly under the pan.
Set the pan down and press it firmly into place. Make sure it does not rock or shift. It should sit flush with your subfloor.
Now connect the drain. Tighten it securely using plumber’s putty or a gasket. Make sure no leaks will form.
Once the pan sets, begin tiling. Spread thin-set on the surface, lay tiles, and leave space for grout lines. Let it dry completely.
Common Tile Ready Shower Pan Sizes
Tile ready pans come in many sizes. A 32-by-32-inch square fits small bathrooms. A 36-by-48-inch rectangle works in medium spaces.
Neo-angle pans help in corner areas. They save room but still give enough space to move.
Some pans have no barrier. These are walk-in or barrier-free models. They help people with mobility issues and suit modern designs.
You can also find pans with different drain positions. Choose from center, left, or right drains. That lets you match your plumbing layout.
Tile Ready vs. Traditional Mud Bed
A tile ready pan makes life easier. It installs faster and looks better. You don’t need to waterproof it or create a slope. It comes pre-built and leakproof. Results are more consistent, even for beginners.
A traditional mud bed uses cheaper materials. You can shape it how you like. But it takes skill, time, and care. If you make one mistake, water leaks may ruin your floor.
Most people now pick tile ready pans. They want fast, safe, and simple installs with fewer errors.
Ideal Use Cases
Tile ready pans are perfect for remodels. You can upgrade fast without tearing out subfloors or walls.
In new builds, they work well too. They fit modern designs and meet code.
Walk-in showers use barrier-free pans. These help elderly users or anyone with limited movement.
Do-it-yourself builders love these pans. You do not need much skill or expensive tools to get a professional result.
Popular Brands in the Market
Tile Redi is one trusted name. It offers pans in many shapes, including walk-in options.
Schluter’s KERDI-SHOWER line works well with full waterproofing kits. Many pros use it.
LATICRETE offers the HYDRO BAN pan. It is strong, durable, and resists leaks well.
Wedi pans are lightweight but solid. They include curbs and other parts that complete the build.
Most of these brands sell full kits. These include the pan, curb, and drain system. That saves time and avoids mismatch issues.
What to Consider Before Buying
Look at your drain location first. Some pans work only with center drains. Others fit left or right drains. Match it to your pipes.
Check your tile type next. Smaller tiles work better on slopes. They lay flat and avoid cracking. Large tiles may not work well if the slope is steep.
Measure your space carefully. Pick a pan that fits, but leave room for walls, curbs, or glass doors.
Some users need strong support. If your shower sees daily use or supports heavy people, check the weight rating of the pan.
Think about curb style too. A raised curb keeps water in. A curbless design helps with access.
Cost Breakdown
Basic pans cost between $200 and $400. These come in standard sizes and fit most showers.
Mid-range pans cost $400 to $600. They may include an integrated drain and better finishes.
Premium models run from $600 to over $1,200. These fit custom sizes or luxury bathrooms.
Full kits that include curbs and waterproofing start around $800 and go past $2,000.
Compare deals online. Some sellers bundle pans with drains or tile-ready adhesives. That can cut your final cost.
Maintenance Tips
Grout lines need sealing. That keeps water from slipping below the tile.
Clean the surface once a week. Use a soft brush and mild cleaner. That stops stains and buildup.
Check your drain every few months. Make sure it flows well and doesn’t leak.
If you see cracks in the caulk, fix them fast. Remove old silicone and apply a new seal. That blocks leaks and protects your floor.
Final Thoughts
A tile ready shower pan saves time and effort. It replaces messy builds with a clean, factory-made base.
You get a smooth, solid surface for your tile. The slope works. The drain fits. You avoid leaks and delays.
It fits in modern homes, small apartments, and luxury spaces. It suits pro builders and do-it-yourself users.
If you want a fast, safe, and stylish shower floor, use a tile ready pan. It gives your bathroom a strong foundation and a clean finish.
FAQ Section
What is a tile ready shower pan?
A tile ready shower pan is a pre-built, waterproof shower base. It comes with a built-in slope and lets you install tile directly on top. You don’t need extra waterproofing layers or slope adjustments.
Is a tile ready pan better than a mud bed?
Yes, in most cases. A tile ready pan is faster to install, leakproof, and easier for beginners. A mud bed takes more time, skill, and materials.
Can I install a tile ready pan myself?
Most people can install one with basic tools. Just follow the instructions, level the base, and connect the drain properly.
Do tile ready pans work with all tiles?
They work best with smaller tiles. These fit the slope better and prevent cracks. Large tiles may not lay flat on sloped surfaces.
How long does it take to install a tile ready shower pan?
You can install the pan in one day. After that, you can start tiling once the adhesive sets—usually in 24 hours.
Are there curbless tile ready pans?
Many brands offer barrier-free or walk-in models. These suit modern styles and help people with limited mobility.
Do I still need to waterproof over the pan?
The pan is already waterproof. But you should seal the grout and edges after tiling to protect against future leaks.